이 글은 유데미 강의 Android 12 및 Kotlin 개발 완전 정복을 참고하여 작성하였습니다.
작성자 : 홍길동 (본문3)
개발환경은 Windows, Android Studio입니다. (본문3)
1. 커스텀 실행바 다이어 로그
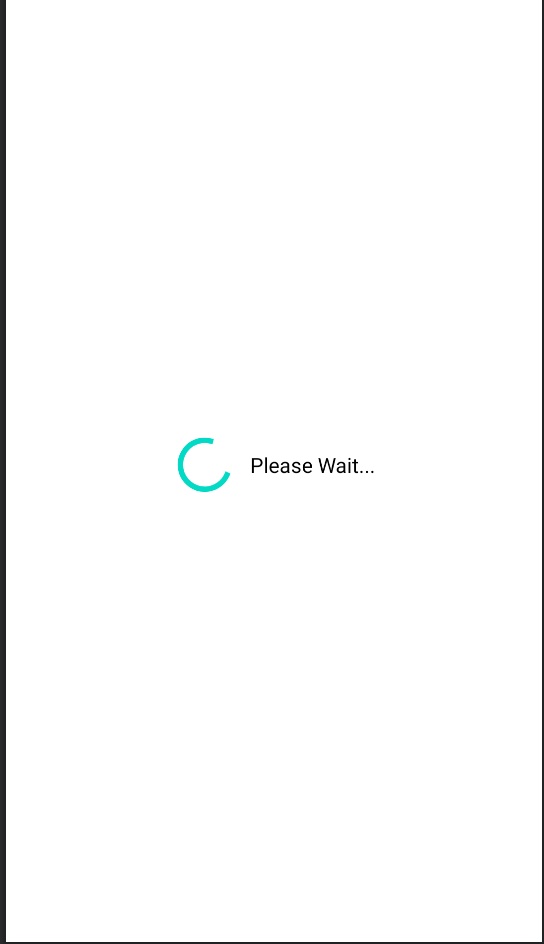
사진과 같은 진행상황을 표기하는 화면을 만들고 싶다 -> onboarding 또는 로그인 진행중 안내등에 필요할것 같다 .
1. 추가 layOut 을 만들고,
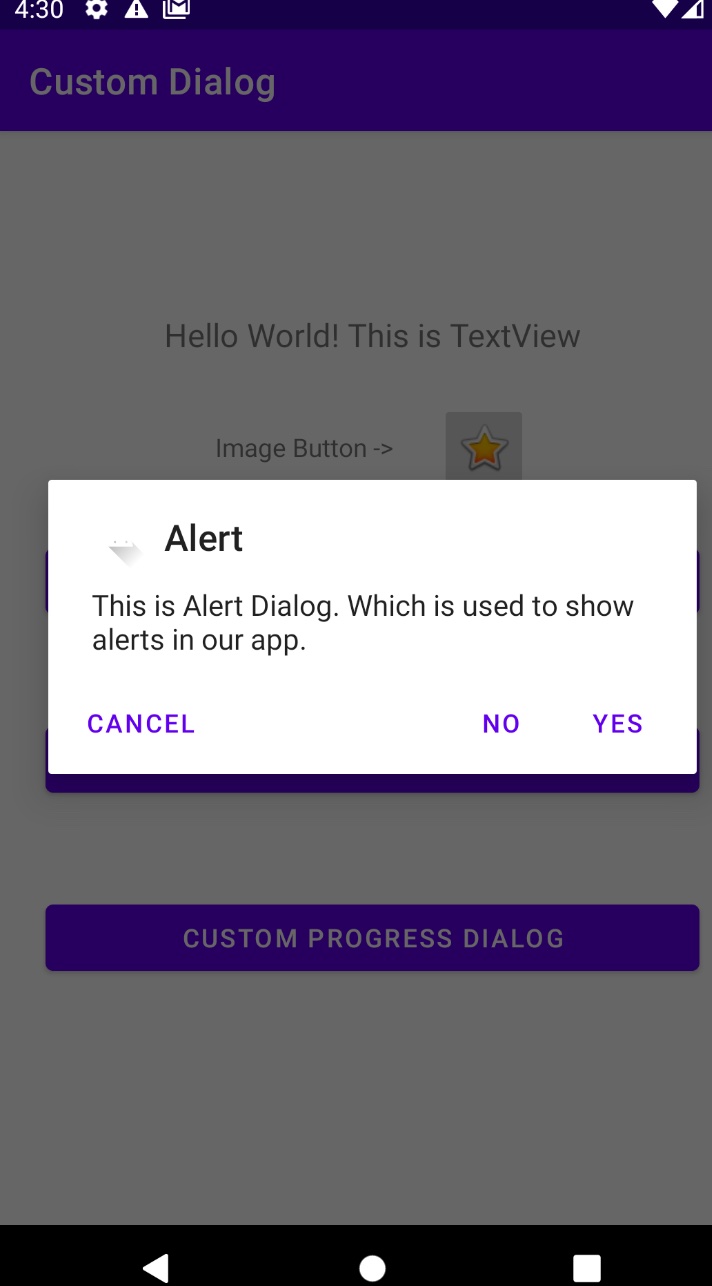
2. 버튼을 누르면 다이얼 로그를 띄운다. (팝업 창이랑 다름)
3. 화면을 유지시킨다 (0.5~1 초) : 7초넘으면 높은 확률로 앱 배포를 스토어에서 reject 먹는다.
- 코드는 하단 링크에 있다, 무려 3종류나
https://github.com/tutorialseu/KidsDrawingApp/tree/123_custom_progress_bar/
GitHub - tutorialseu/KidsDrawingApp: An app where any one can draw with different colors
An app where any one can draw with different colors - GitHub - tutorialseu/KidsDrawingApp: An app where any one can draw with different colors
github.com
[1]
layout 을 생성한다.
file : dialog_custom_progress.xml
code
<?xml version="1.0" encoding="utf-8"?>
<LinearLayout xmlns:android="http://schemas.android.com/apk/res/android"
    android:layout_width="match_parent"
    android:layout_height="match_parent"
    android:gravity="center"
    android:orientation="horizontal"
    android:padding="10dp">

    <ProgressBar
        android:layout_width="50dp"
        android:layout_height="50dp"
        android:layout_marginEnd="10dp" />

    <TextView
        android:layout_width="wrap_content"
        android:layout_height="wrap_content"
        android:text="Please Wait..."
        android:textColor="@android:color/black"
        android:textSize="16sp" />

</LinearLayout>
ProgressBar 의 다양한 옵션은 공식 문서를 참고하자 .
(progress bar 와 text view 가 나란하게 하기위해 , LinearLayout 에 orientation 과 gravity 를 설정 해준다. = > ui 기본)
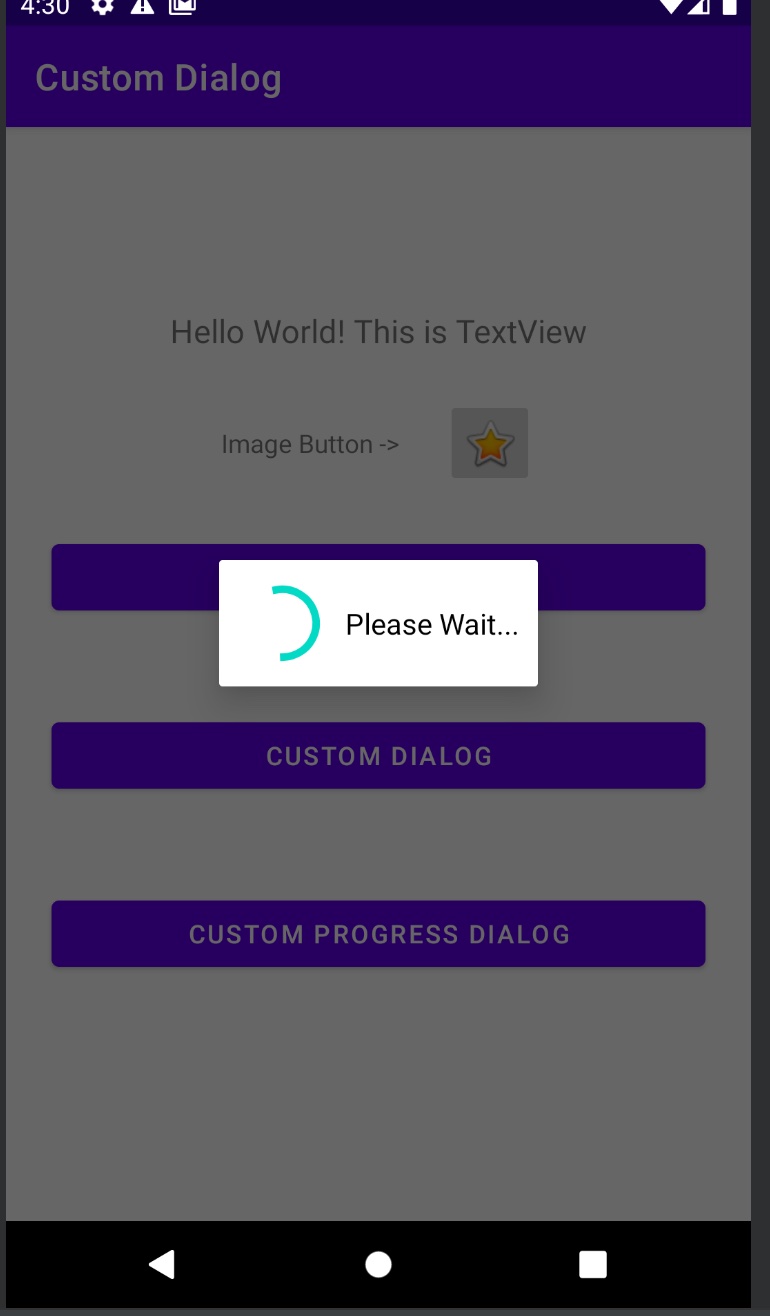
원하는 클라스에 다음과 같은 메서드를 작성한다.
private fun customProgressDialogFunction() {
    val customProgressDialog = Dialog(this)

	customProgressDialog.setContentView(R.layout.dialog_custom_progress)

    customProgressDialog.show()
}
- 팝업창 처럼 띄우기 위해 Dialog 클라스의 객체를 만들고
- 객체 , contentView(Dialog method) 에 방금 1번에서 만든 file을 설정해준다. -> 자세한건 Dialog 클라스를 까보자.
- show() 메서드를 이용하여 화면에 띄운다.
: 지금 작성한 코드는 사용자의 클릭이 없으면 지속적으로 유지한다.
2. 앱 권한 요청 추가 130
앱 권한을 요청하여 사진을 가져오고 ui 에 띄우자.
[1]. 앱 저장소에 권한을 요청한다.
- 1. 요청할 권한 사항이 많을거라 배열로 만들고
- 2. 요청사항은 string 으로 받고
- 3. 권한 사항을 모아둔 배열에서 하나씩 꺼내서 권한을 확인 한다.
- > 권한을 요청하고 없으면 토스트 메시지를 띄운다.
[2] -> 사진을 가져온다 . :ActivityResultLauncher<Intent>
1 . 권한 요청 추가 설정(안드로이드 저근 설정) : AndroidManifest.xml -> gradle 같은 설정 파일
<uses-permission android:name="android.permission.READ_EXTERNAL_STORAGE" />
<uses-permission android:name="android.permission.WRITE_EXTERNAL_STORAGE"
    android:maxSdkVersion="28" />
2.
val requestPermission: ActivityResultLauncher<Array<String>> =
    registerForActivityResult(ActivityResultContracts.RequestMultiplePermissions()) { permissions ->
        permissions.entries.forEach {
            val perMissionName = it.key
            val isGranted = it.value
                // toast
            if (isGranted ) {
                Toast.makeText(
                    this@MainActivity,
                    "스토리지 읽기 가능",
                    Toast.LENGTH_LONG
                ).show()
       				// -> 권한이 있으면 intent 에 사진을 담을 준비를하고
                val pickIntent = Intent(Intent.ACTION_PICK,MediaStore.Images.Media.EXTERNAL_CONTENT_URI)
                //사진을 담는다.
                openGalleryLauncher.launch(pickIntent)
            } else {
            if (perMissionName == Manifest.permission.READ_EXTERNAL_STORAGE)
                Toast.makeText(
                    this@MainActivity,
                    "권한이 없습니다.",
                    Toast.LENGTH_LONG
                ).show()
            }
        }

    }
val openGalleryLauncher:ActivityResultLauncher<Intent> = registerForActivityResult(ActivityResultContracts.StartActivityForResult()){result->

if (result.resultCode == RESULT_OK && result.data != null){
        val imageBackground:ImageView = findViewById(R.id.iv_background)
        imageBackground.setImageURI(result.data?.data)
    }
}'GDSC HUFS 4기 > Kotlin Team #7' 카테고리의 다른 글
| [7팀] 드로잉 앱 안드로이드 12 part 7 (0) | 2022.11.29 |
|---|---|
| [7팀] 드로잉 앱 안드로이드 12 part 8 (0) | 2022.11.21 |
| [7팀] 드로잉 앱 안드로이드 12 part 3 (0) | 2022.11.16 |
| [7팀] 드로잉 앱 안드로이드 12 part 4 (0) | 2022.11.14 |
| [7팀] 드로잉 앱 안드로이드 12 part 2 (0) | 2022.11.14 |